Installation and information for C# developers
Installation
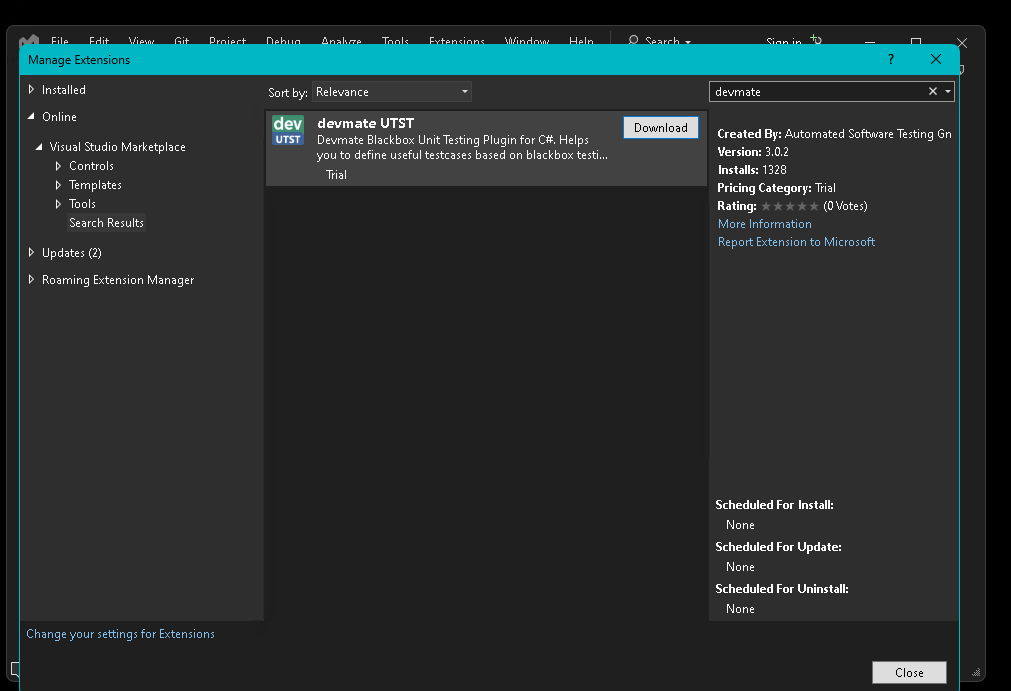
Open Visual Studio and locate the Extensions menu.
Select Manage Extensions.
Search for “devmate” in the search bar on the right and click the Download button.
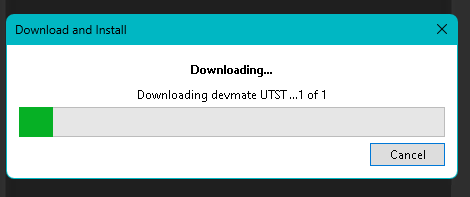
The download will start.

You now need to restart Visual Studio. Before Visual Studio closes, you will be asked if you want to install the plugin.
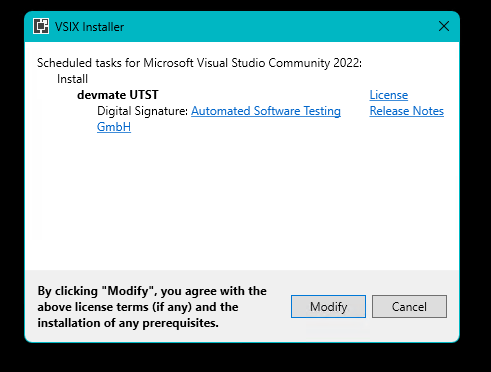
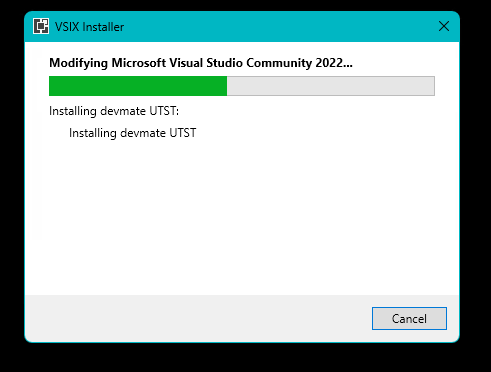
Click Modify to confirm the plugin installation.
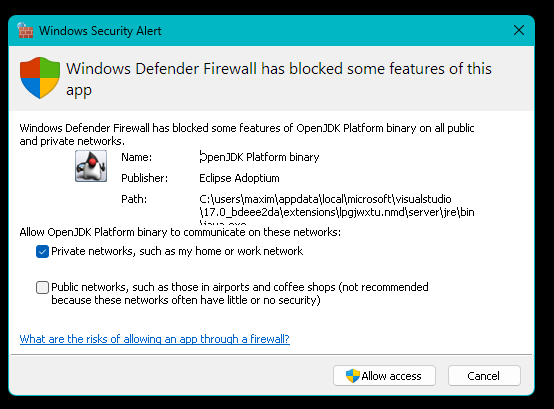
After Visual Studio restarts, allow DevMate to communicate on your network.
And with that the installation is complete. Now is a good time to read the tutorials.
Apologies to C# developers that our tutorial code on Github is currently Java only. The C# version will be ready by the end of May 2023. However, you will be able to easily follow the tutorials in the meantime and the processes are exactly the same.
Choosing your testing framework
DevMate works with the following test frameworks.
NUnit
MSUnit
XUnit
When you get to the DevMate editor, you can select your preferred framework as shown below.
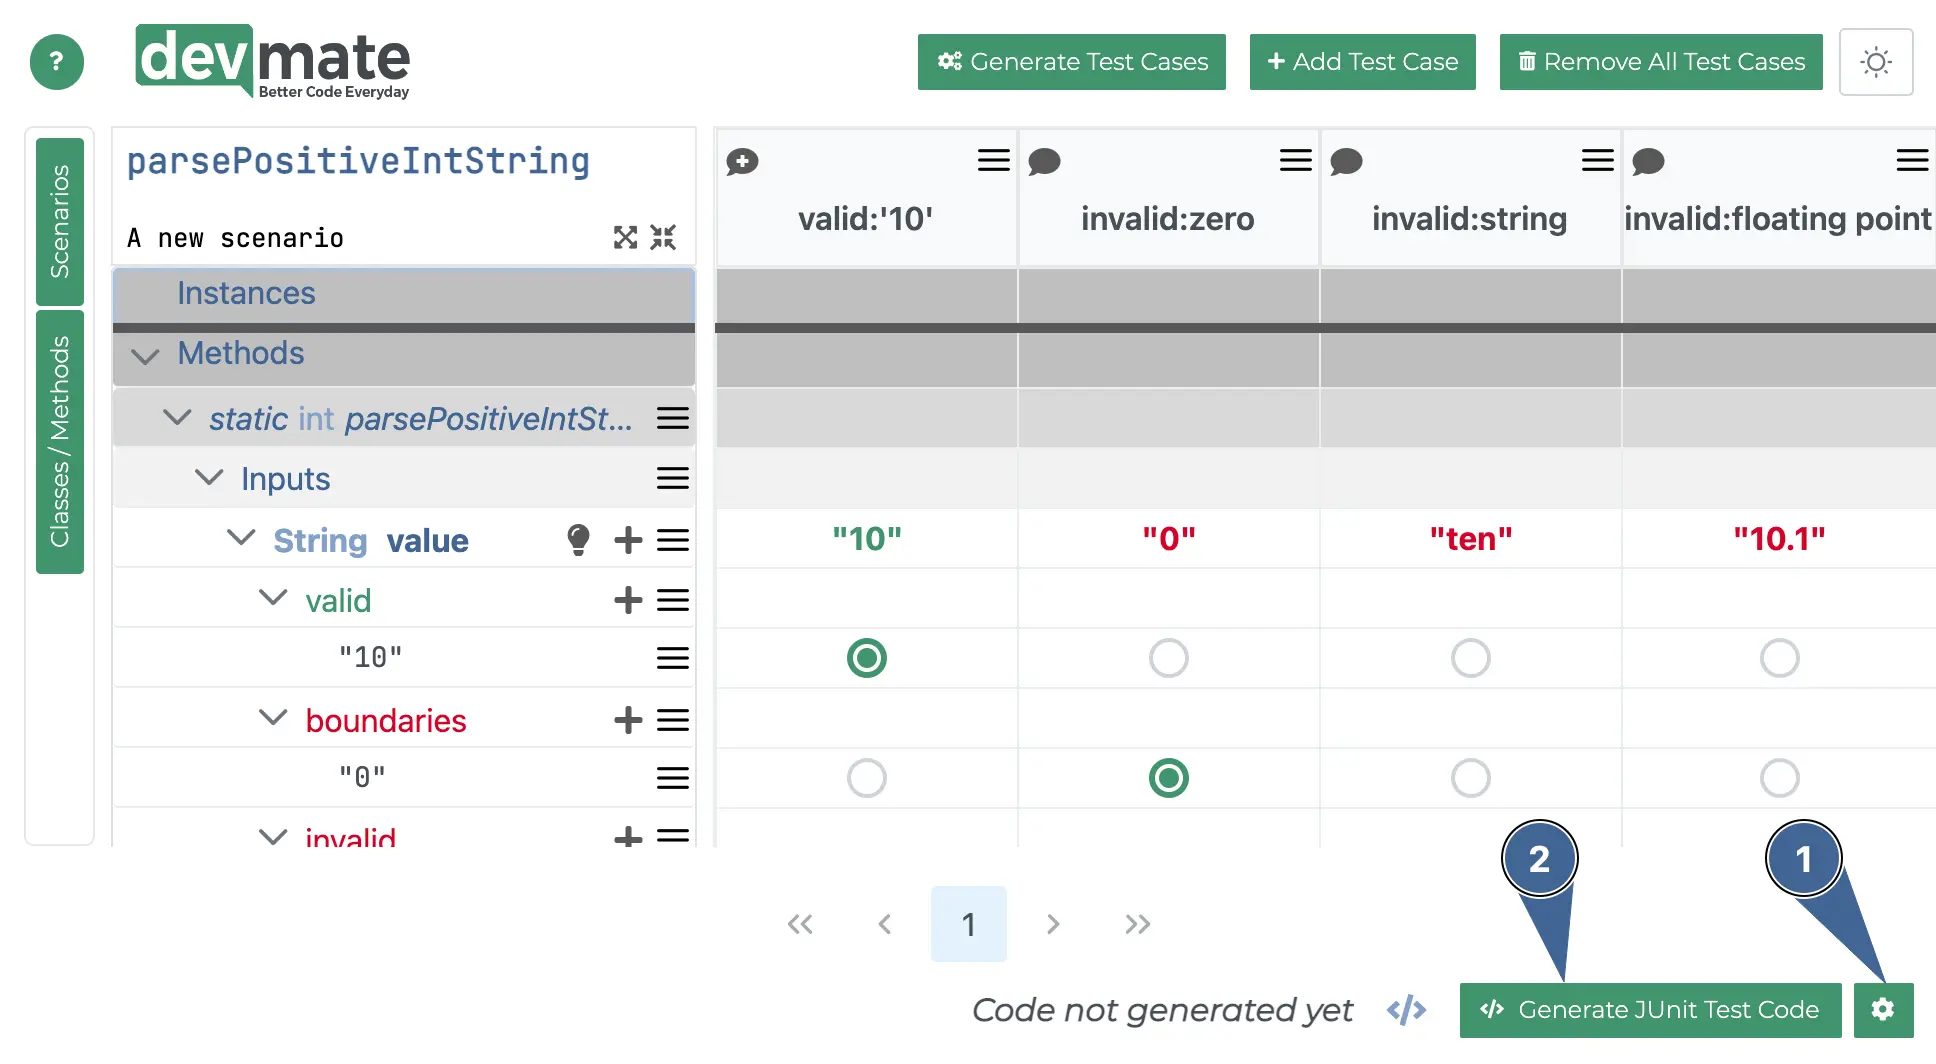
Press the gear button to select your preferred test framework.
When you generate the test code, code for the selected framework will be generated.